Quickstart
Create workflow from template
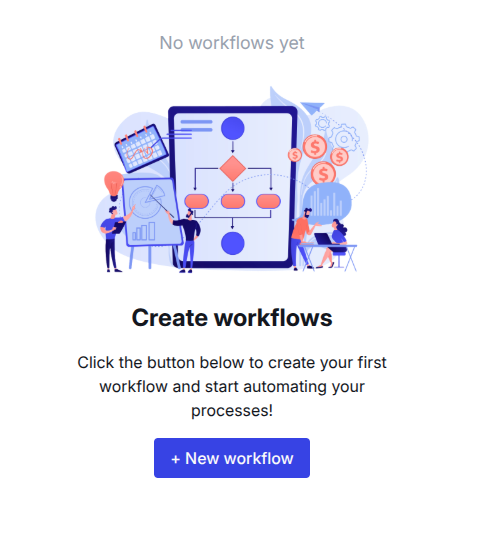
After you have registered you are all set to create your first workflow. Just click on the + New workflow button.
You then will be able to either start a new workflow from scratch or use one of the provided templates.
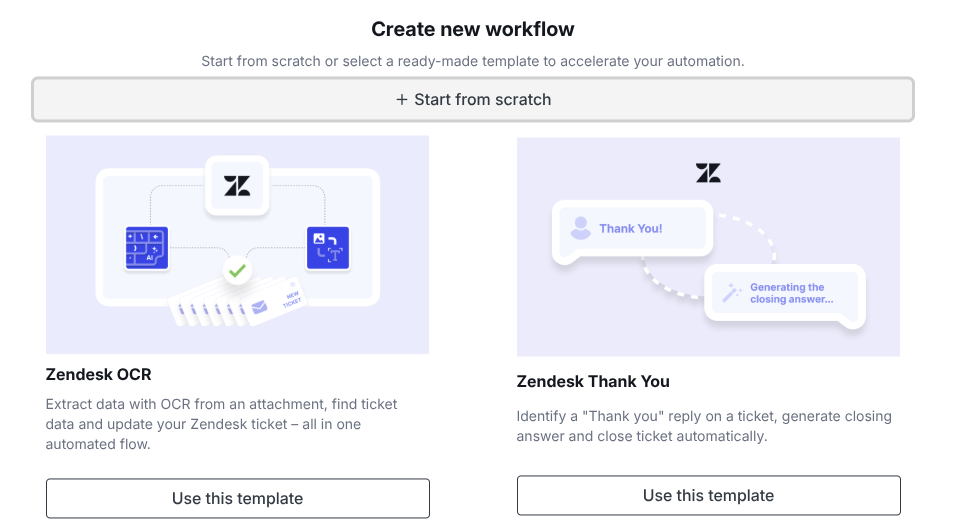
For this quickstart we will use the "Zendesk Thank You" template. It will show you the basic concept on how to use our AI node to use Large Language Models (LLMs). Click on the "Use this template" button and the workflow will be set up for you.
Note
Every workflow always must have at least one Start event node, since this event will be the initial event that starts the execution of the whole workflow. You can choose several Event Types. In this template Zendesk is preselected.
Note
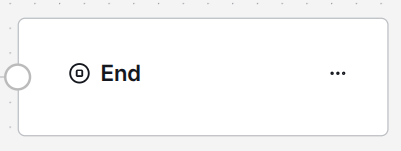
All workflows also must have the an End node, since this will indicate the end of the execution of the workflow. For the workflow creation we had Business Process Model and Notation (BPMN) in mind. You can read more about it here
Setup the Start event
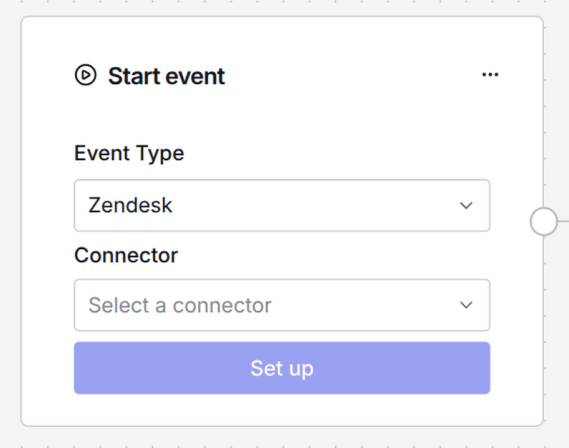
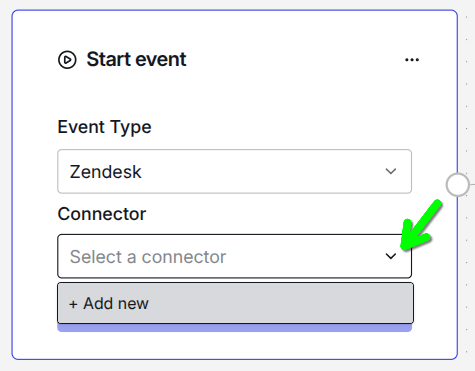
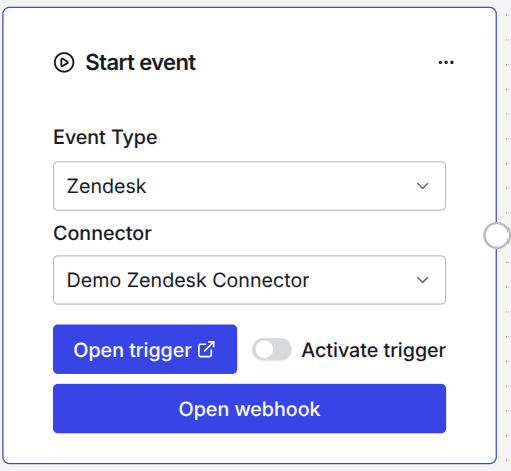
First we will need to make sure that the workflow has a working Start event. In this template we will create a connector to our Zendesk instance. Go to the Start event node and make sure you have Zendesk as Event Type. Then click on the small arrow icon under Connector and choose + Add new.
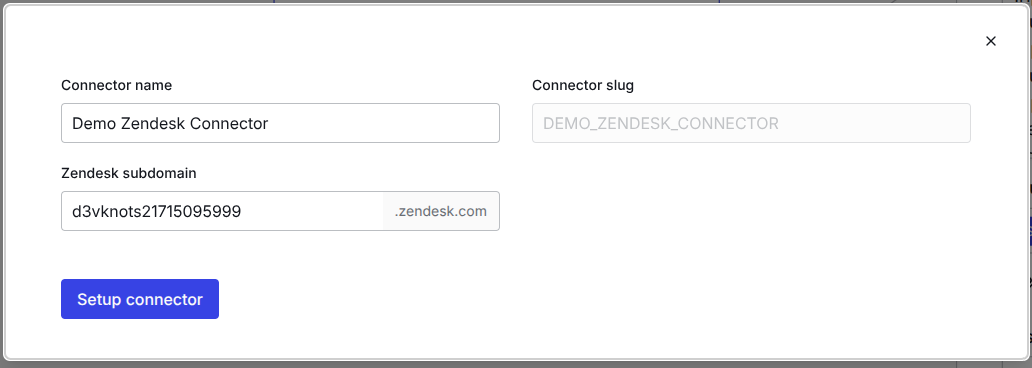
A pop up will open and you will have 2 input fields. You can give the connector a name. Please make sure it is a unique name and helps you identify the system, since later on you might create more connectors to different systems or even different Zendesk instances, like to your sandbox and production.
You also have to give your Zendesk subdomain. You find this in your browser, when you are logged into Zendesk. It is the part before the .zendesk.com part of the URL. Like https://subdomain.zendesk.com
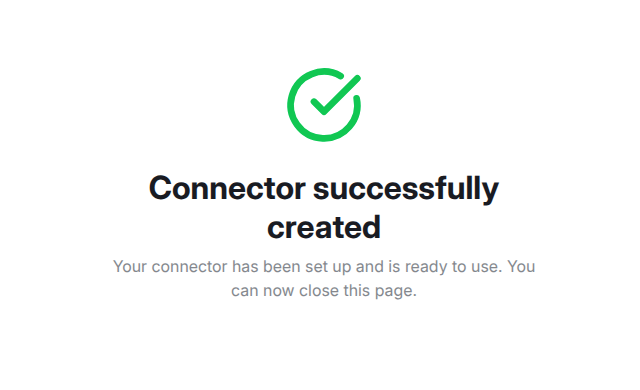
You will be redirected to Zendesk and you can grant access to your Zendesk instance. After the setup is complete you will see the screen that the connector was created successfully.
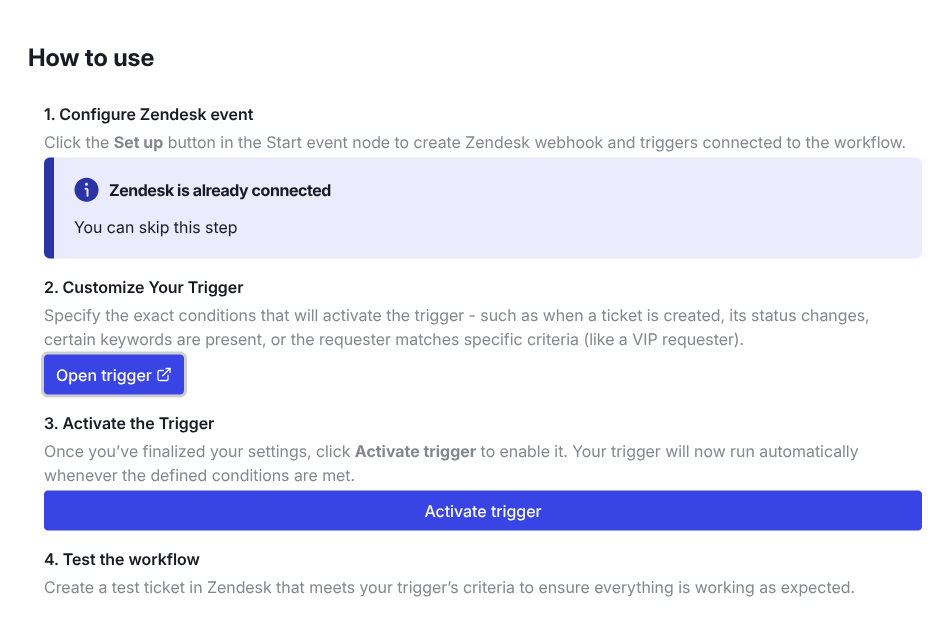
Please make sure you click the "Setup" button after the connector was created you will then see that a trigger and a webhook was already created within the connected Zendesk instance.
Check the Zendesk trigger
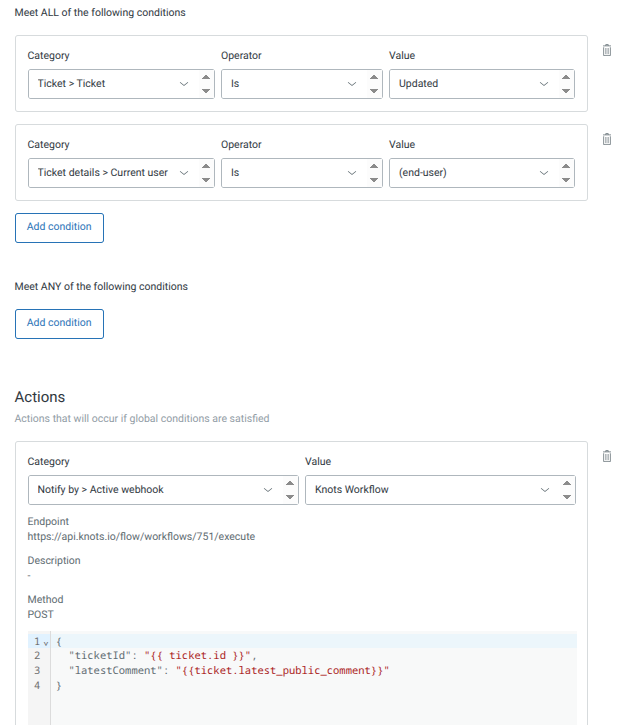
You can click on the "Open trigger" button and you will be redirected to the created Zendesk trigger. There you will see a trigger with some preset conditions and a JSON payload as an action.
Note
Please note that we use the Zendesk placeholder in the payload of the trigger. This means that you can design the JSON in general for workflows in the way you need it. You can reference in the flow to the keys, like "Start event: latestComment" in this example. You are absolutely free which data you want to send to a workflow. For the "Thank you" flow we want to make sure that we have the latest public comment available, since we will need this to check if it is just a "thank you" message.
The AI node
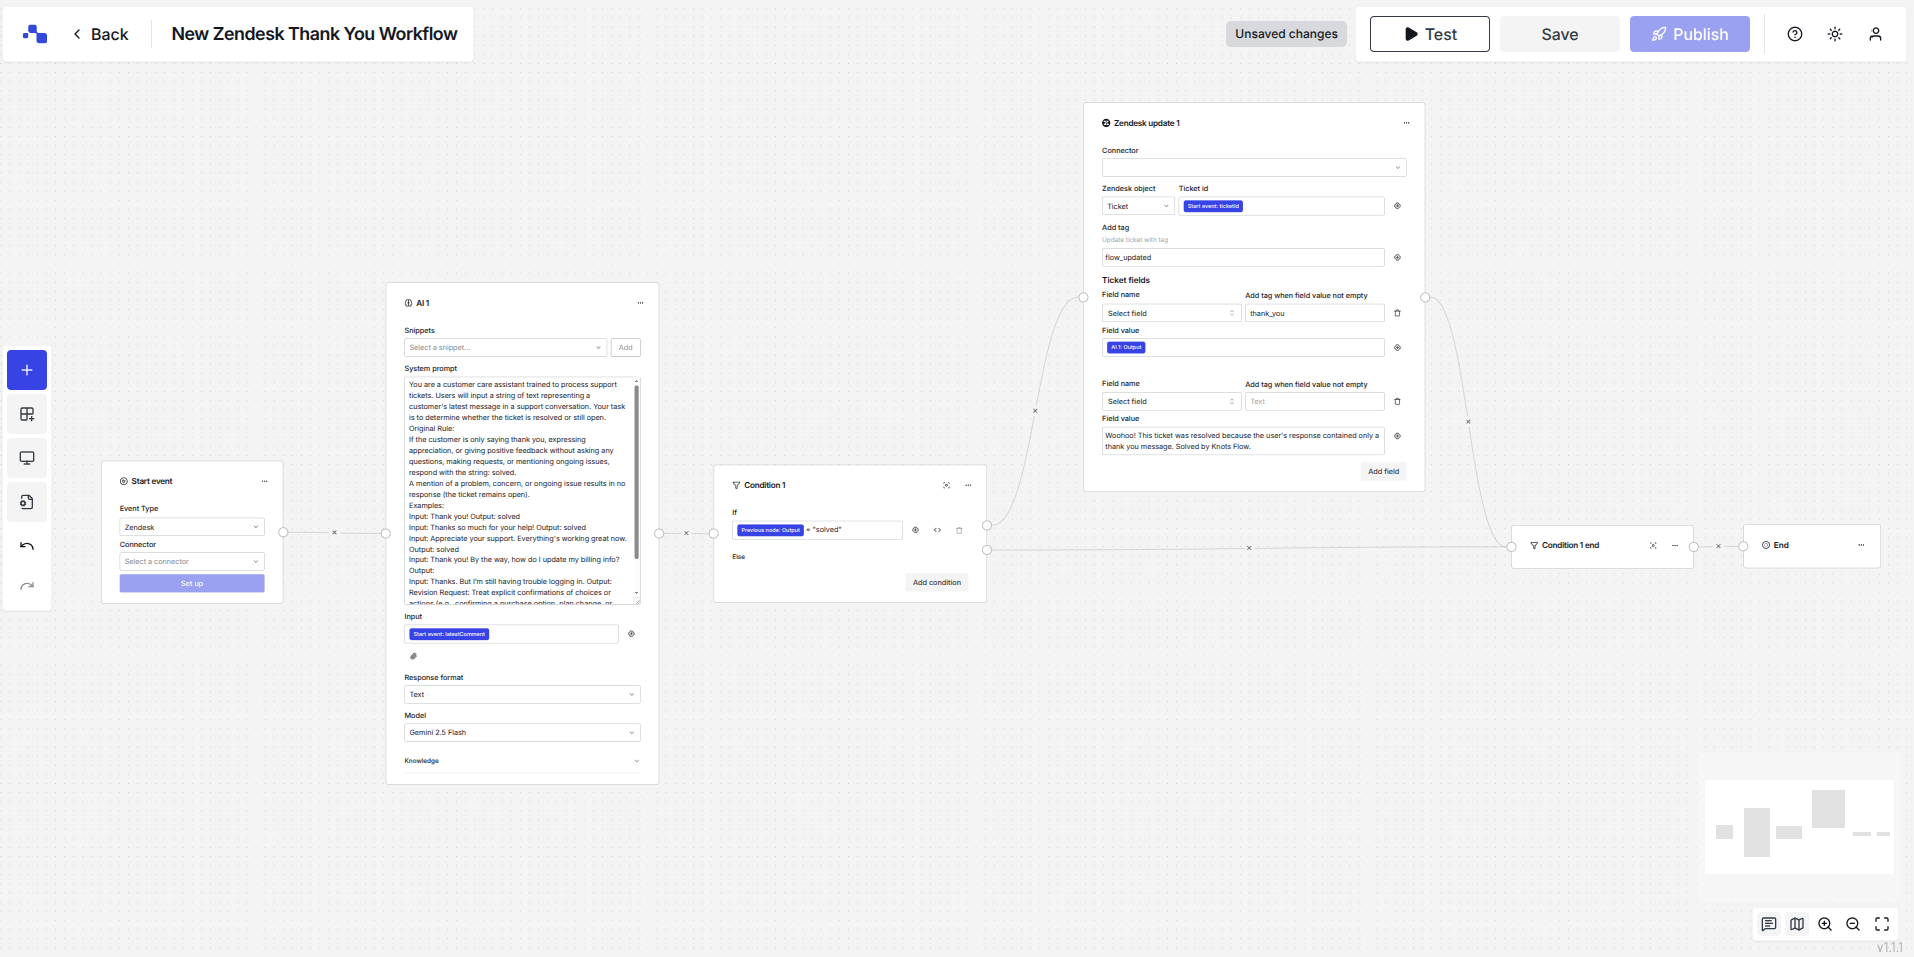
You do not need to adjust anything in the AI node since it's all already set. Just note that you see the system prompt and that there is the Start event: latestComment as the Source. This is the data we send from Zendesk to the workflow. It will be passed to the AI node, where the chosen LLM will process the data from the source.

The condition node is already set accordingly. The LLM will just check if the latest comment was just a thank you and if so will respond with "solved". The condition node let's the flow continue to the Zendesk update node, if the output was solved or it will do no action for the else case, where it is connected to the "Condition 1 end" node. All conditions must be closed with condition end nodes - that is the BPMN standard.
Zendesk update node
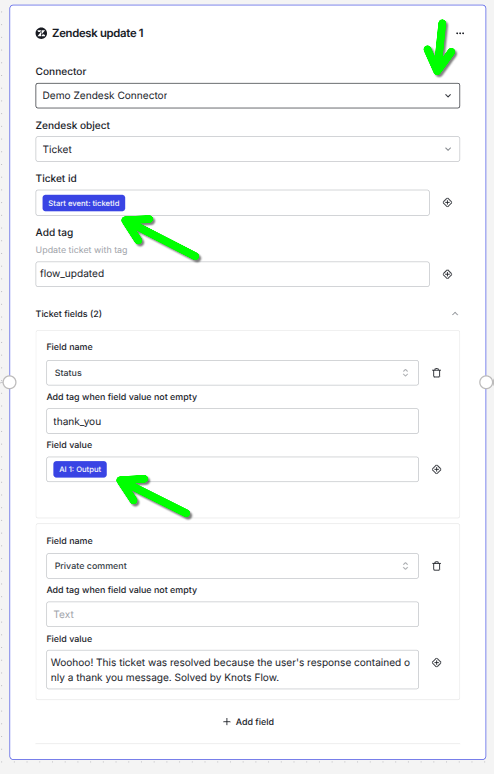
Now you only need to make sure that you choose the right Connector for the Zendesk update 1 node. You can update different systems or even different Zendesk instances if you like to. In this flow we will just update the ticket and the instance that has sent the latest comment.
Note
Take a look at the tags under Ticket id and Field value. The ticket id is the one we sent from the Zendesk trigger, while the field value is the output from the AI node. All data from the flow is always available to each node. If you have a node connected properly you will find a selection of variables when you click the + icon to add values to the fields.
Save and Publish the workflow
We are nearly done. Now save your workflow with clicking the Save button. A workflow is only active, if you also publish it. Like this you can do changes to a workflow while the old version is still active. Only if you hit the Publish button the changes will take effect on production. You always see when you have unsaved changes or if the workflow is ready to publish on the top right of your workflow on the toolbar.

After you have pressed Publish you will see a pop up that checks all the conditions in your workflow. It will make sure, that you have all Zendesk nodes connected and it will also check, that you activated the Zendesk trigger. To activate the trigger is essential, since the workflow will only be executed when data is received. The event needs to come from Zendesk and so the workflow will only work, if the trigger fires. Zendesk triggers are a very powerful tool for business rules in Zendesk. Follow the link above if you are not familiar how triggers work.
Congratulations!  You just automated the detection of Thank you responses from your customers with the use of LLMs (AI)! This is a very basic workflow that should make you familiar how you can pass data around and it gives you a first impression how you can use LLMs for automating your business processes.
We are always happy to help! If you have any questions please get in contact with us: support@knots.io